DESIGN PREPARATION
How to turn a photo into a cross-stitch pattern
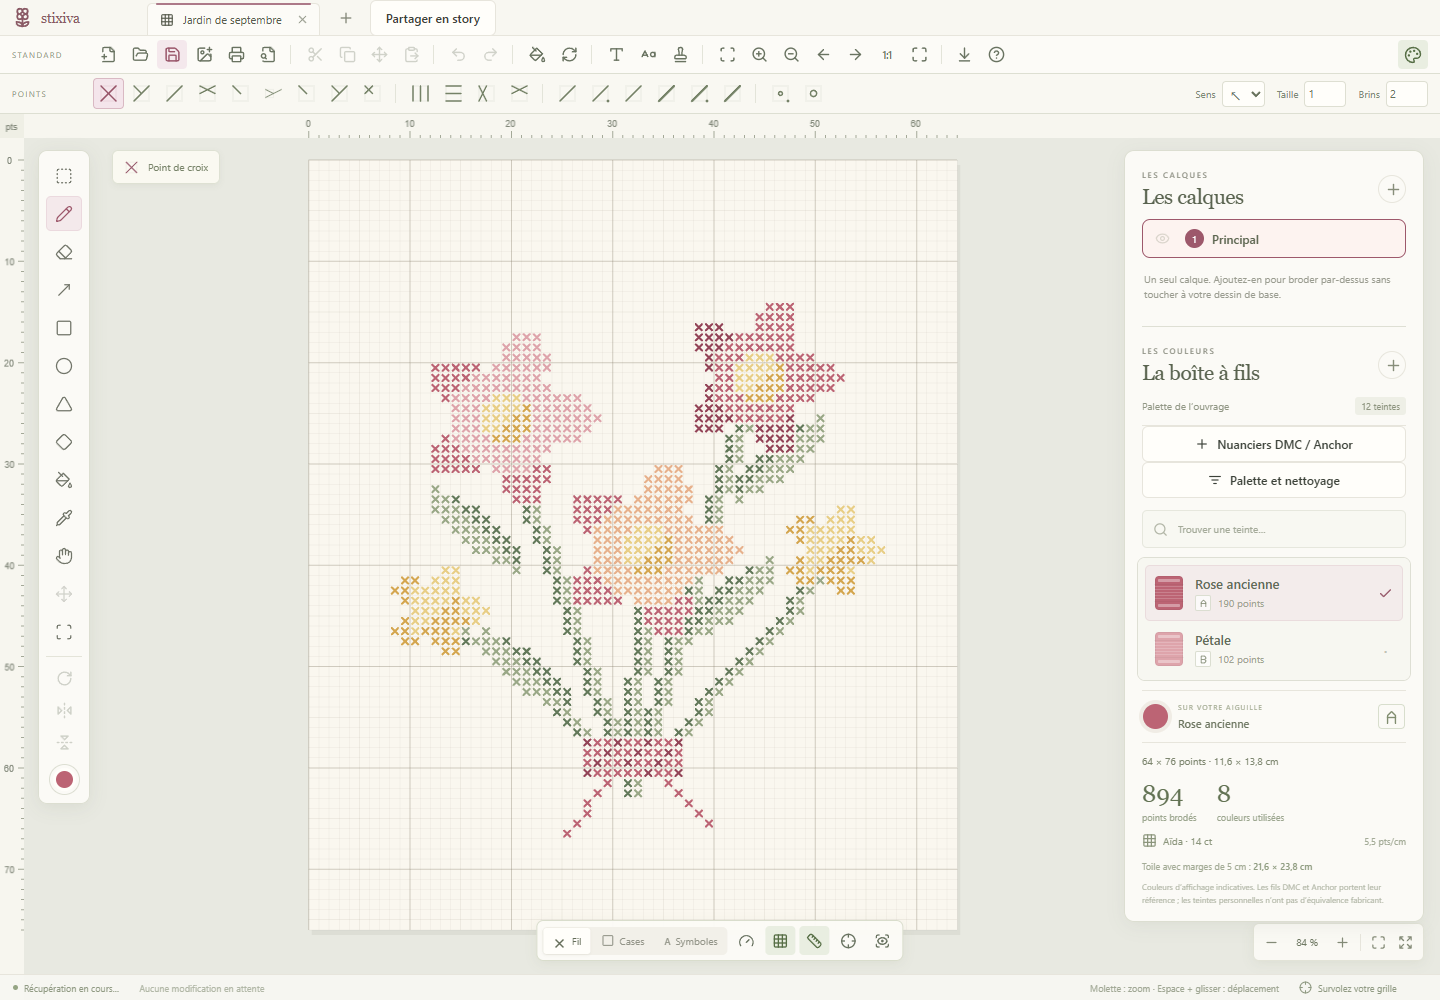
To turn a photo into a cross stitch pattern, you reduce the image to a number of stitches (the size of the embroidery), then replace each stitch with the closest thread from a limited palette. The result depends mostly on three choices made before converting: the photo and its cropping, the size in stitches, and the number of colors. This guide covers each one, with thefree preview of your photo as a chart to try as you go.
- Choose a sharp, well-lit photo with a clear subject on a calm background.
- Crop tight: every stitch counts, especially at small sizes.
- Set the size before the palette: 6 inches on 14-count Aida is about 83 stitches wide.
- Fewer colors often give a chart that’s easier to read and more pleasant to stitch.
Turning a photo into cross stitch, step by step
- Choose the photo and crop it to the subject.
- Set the size of the embroidery, in inches or stitches, depending on your fabric.
- Choose the thread brand (DMC, Anchor, Madeira, Sullivans…) and the number of colors.
- Run the conversion : each stitch gets the closest thread in the palette.
- Check the preview at real size, touch up the important areas and clean up isolated stitches.
- Export the pattern : the chart with its symbols, the thread key and the shopping list.
L’free preview covers steps 1 to 4 in your browser; the stixiva studio goes all the way to the PDF pattern.
Which photo should you choose for embroidery?
The easiest photos to stitch have an identifiable subject, readable lighting and fairly distinct areas of color. A portrait on a calm background, a high-contrast flower or a clearly separated animal usually give a better result than a busy scene.
- Sharp : a focus blur turns into a mush of stitches.
- Well lit : avoid backlighting and harsh shadows on a face.
- Simple : a plain or blurred background leaves the stitches for the subject.
- High contrast : clearly separated light and dark areas read better once stitched.
Crop to give the subject priority
Remove details that don’t serve your composition. A closer crop leaves more stitches for the main subject and improves its outlines. Think about the finished embroidery: what’s tiny on screen (a highlight in the eye, some lettering) won’t necessarily be readable on the fabric.
What size should the chart be?
The width and height in stitches set the level of detail possible. A larger chart allows more shades and finer outlines, but also takes more time and thread. The free preview offers three sizes, on 14-count Aida:
| Size | Longest side | In stitches (14-count Aida) | Colors at most | For… |
|---|---|---|---|---|
| Small | 6 in (15 cm) | 83 | 14 | a first project, an animal, an object |
| Medium | 10 in (25 cm) | 138 | 32 | a simple portrait, a landscape |
| Large | 16 in (40 cm) | 220 | 58 | a detailed portrait, a picture |
For other fabrics, the size and fabric to cut tool converts stitches to inches and centimeters, and the stitching time calculator estimates the hours needed: a large chart 220 stitches wide has several tens of thousands of crosses.
How many colors should you keep?
A photo contains thousands of shades; conversion brings them down to a palette of threads. More colors give softer gradients, but also more thread changes and more isolated stitches, those lone crosses of one color in the middle of another that take ages to stitch. Fewer colors give a more graphic image and a more pleasant project.
In the studio, the number of colors can be set from 2 to 64. You can also force or exclude threads (for example the ones in your stash), then merge isolated stitches, with a before / after to judge the result.
Check the preview like a stitcher
- Look at the design at real size, not just zoomed in.
- Check the important areas: face, eyes, text, the subject’s outline.
- Compare a version with fewer colors before deciding.
- Look at the 3D preview on fabric: it shows better than the chart what the embroidery will look like.
Turn a photo into a pattern for free
| Criterion | Free preview | stixiva studio |
|---|---|---|
| Price | Free, no sign-up | Free during the beta, with an account |
| Your photo | Stays on your device | Carried into your project |
| Sizes | 6, 10 or 16 in (15, 25 or 40 cm) | Your choice, in stitches or inches |
| Colors | Up to 14, 32 or 58 | 2 to 64, forced or excluded threads |
| Edits | No | Cropping, brightness, isolated stitches, drawing |
| Pattern | Preview and thread list | PDF with symbols and key |
The simplest way is to start with the preview: if the photo works, “Continue in the studio” carries it over with the size and brand you chose. The full process is described on the turn an image into cross stitch.
Common mistakes
- A photo that’s too small or blurry : conversion can’t invent details.
- A chart too small for a portrait : a face needs stitches to stay recognizable.
- Too many colors : the chart takes longer to stitch with no visible gain.
- Judging on screen only : compare the suggested threads with real skeins.
Our take
The “convert” button only does half the work. The photo, the crop, the size and the number of colors decide whether it works, and that’s where a few minutes are well spent. That’s why the free preview shows the chart, its threads and its size right away: you try, you compare, and you keep only the photo that works.
FAQ
Can I turn a photo into a cross stitch pattern for free?
Yes: stixiva’s “Photo to pattern” preview converts your photo into a chart with its threads, free and with no sign-up. The PDF pattern is downloaded from the studio, free during the beta with an account.
Is my photo sent to a server?
Not for the free preview: conversion happens in your browser and the photo never leaves your device.
What size should I choose for a portrait?
At least the medium size, 10 inches (25 cm) on 14-count Aida, 138 stitches wide; a detailed portrait benefits from the large size, 16 inches (40 cm).
How many thread colors for a photo?
It depends on the photo and the size: the preview keeps up to 14, 32 or 58 depending on the size chosen. Fewer colors give a chart that’s easier to read and quicker to stitch; in the studio, the number can be set from 2 to 64.
What is an isolated stitch?
A single cross of one color in the middle of another. When there are lots of them, they slow down stitching; the studio can merge them into their neighbors, with a before / after.
Which thread brand should I choose?
The one you already have or that your store sells: the conversion works with DMC, Anchor, Madeira and Sullivans.
Prepare your next chart.
Import an image and compare settings directly in stixiva.
Pattern maker